Losing your iPhone data is one of those nightmares you don’t think about until it’s too late. Photos of your kids, important work documents, years of messages — gone in an instant if your phone gets lost, stolen, or decides to take a swim.
The good news? Backing up your iPhone is easier than ever in 2026. Whether you want the convenience of iCloud or the security of a local backup on your computer, this guide walks you through every method step by step.
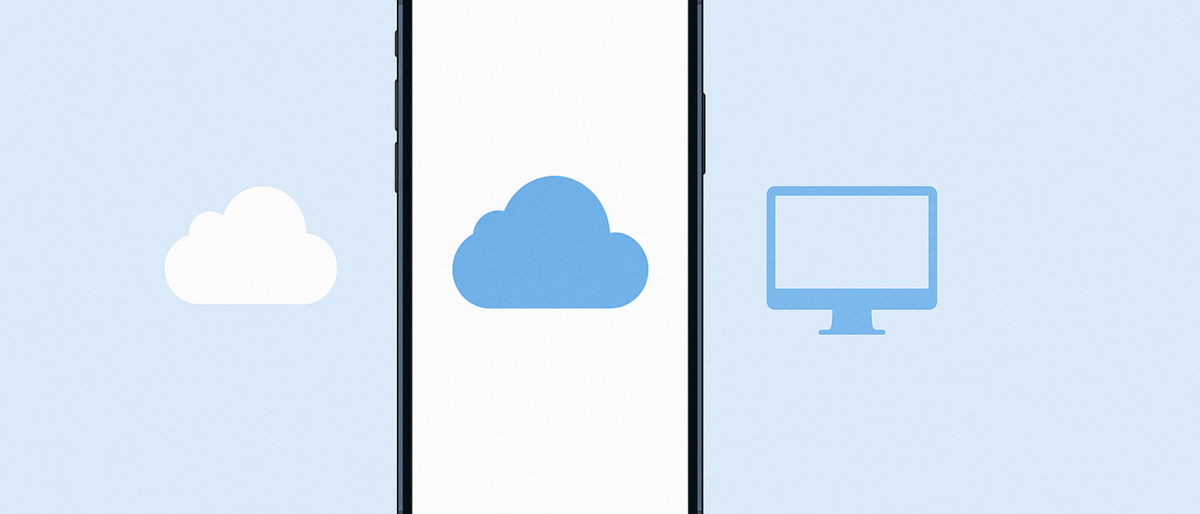
Let’s make sure you never lose a single photo again.
Why Backing Up Your iPhone Matters
Before we get into the how, let’s talk about the why. According to recent data, over 70 million smartphones are lost or stolen each year. Water damage, software glitches, and accidental drops claim millions more. Without a backup, you’re gambling with years of irreplaceable data.
A proper backup strategy gives you:
- Peace of mind — your data is safe no matter what happens to your phone
- Quick recovery — set up a new iPhone and have everything back in minutes
- Historical records — keep old messages, photos, and app data you might need later
- Freedom to upgrade — switch phones without the anxiety of losing stuff
Method 1: Back Up Your iPhone to iCloud
iCloud is Apple’s built-in cloud storage solution, and it’s the easiest way to keep your iPhone backed up automatically. Once you set it up, it runs in the background without you having to think about it.
How to Set Up iCloud Backup
- Open Settings on your iPhone
- Tap your name at the top of the screen
- Tap iCloud
- Tap iCloud Backup
- Toggle on Back Up This iPhone
- Tap Back Up Now to start your first backup immediately
Once enabled, iCloud automatically backs up your iPhone daily when it’s connected to Wi-Fi, plugged in, and locked. You don’t have to do a thing.
What iCloud Backup Includes
iCloud backs up most of your important data:
- Photos and videos (if you have iCloud Photos enabled)
- App data and settings
- Device settings and preferences
- iMessage, SMS, and MMS messages
- Ringtones and visual voicemail
- Home screen and app organization
- Health data (if encrypted backup is enabled)
iCloud Storage Limits and Pricing
Every Apple ID gets 5 GB of free iCloud storage. For most people, that fills up fast. Here are the current iCloud+ plans for 2026:
- 50 GB — $0.99/month
- 200 GB — $2.99/month
- 2 TB — $9.99/month
- 6 TB — $29.99/month
- 12 TB — $59.99/month
For most users, the 200 GB plan at $2.99/month is the sweet spot. It’s enough to back up your phone, store photos, and have room to spare.
How to Check Your iCloud Backup Status
- Go to Settings > [Your Name] > iCloud > iCloud Backup
- Check the “Last Successful Backup” date and time
- If it says “Never” or the date is old, tap Back Up Now
You can also check how much storage your backup uses by going to Settings > [Your Name] > iCloud > Manage Account Storage.
Method 2: Back Up Your iPhone to a Mac
If you prefer keeping a physical backup — or you just don’t want to pay for iCloud storage — backing up to your Mac is a solid option. It’s also faster for large backups since it uses a direct connection.
Using Finder (macOS Catalina and Later)
- Connect your iPhone to your Mac using a USB-C or Lightning cable
- Open Finder (your iPhone should appear in the sidebar under Locations)
- Click on your iPhone in the Finder sidebar
- Under the General tab, select Back up all of the data on your iPhone to this Mac
- Optionally, check Encrypt local backup to include Health and Activity data
- Click Back Up Now
The first backup takes a while depending on how much data you have. Subsequent backups are incremental — they only copy what’s changed, so they’re much faster.
How to Find Your Mac Backups
Your backups are stored at: ~/Library/Application Support/MobileSync/Backup/
To quickly find this folder, open Finder, press Cmd + Shift + G, paste the path above, and hit Enter.
Method 3: Back Up Your iPhone to a Windows PC
Windows users aren’t left out. Apple provides the Devices app (formerly iTunes) for Windows, and it handles backups just fine.
Using the Apple Devices App (Windows 11)
- Download the Apple Devices app from the Microsoft Store (if you haven’t already)
- Connect your iPhone to your PC via USB
- Open the Apple Devices app
- Select your iPhone from the sidebar
- Under Backups, choose Back up to this computer
- Optionally, enable Encrypt backup for Health data
- Click Back Up Now
Using iTunes (Older Windows Versions)
- Open iTunes on your PC
- Connect your iPhone via USB
- Click the iPhone icon near the top left
- Under Backups, select This computer
- Click Back Up Now
Tips for Freeing Up Space Before Backing Up
A huge backup takes longer and eats more storage — whether it’s iCloud or local. Here’s how to trim the fat before you back up:
1. Offload Unused Apps
Go to Settings > General > iPhone Storage and look for apps you haven’t used in months. Tap them and select Offload App. This removes the app but keeps its data, so when you reinstall it, everything’s still there.
2. Delete Old Message Attachments
Those memes and videos from group chats take up serious space. Go to Settings > General > iPhone Storage > Messages and review your largest conversations. Delete photos and videos you no longer need.
3. Clear Your Browser Cache
Safari accumulates a surprising amount of data. Go to Settings > Safari > Clear History and Website Data to free up space instantly.
4. Optimize Photo Storage
If you use iCloud Photos, enable Optimize iPhone Storage (Settings > [Your Name] > iCloud > Photos). This keeps smaller versions on your phone while storing full-resolution originals in iCloud.
5. Review and Delete Large Files
Check Settings > General > iPhone Storage for large files, downloaded movies, or offline maps you no longer need. A single downloaded Netflix movie can be 2-4 GB.
iCloud vs. Computer Backup: Which Should You Use?
Here’s the honest answer: use both if you can. But if you have to pick one:
- Choose iCloud if you want automatic, hassle-free backups that happen without you thinking about them. It’s ideal for people who don’t want to deal with cables.
- Choose computer backup if you have a lot of data, want faster restores, or prefer not to pay for cloud storage. It’s also more private since your data stays on your machine.
- Choose both for maximum security. iCloud handles your daily automatic backups, and a monthly computer backup gives you a physical safety net.
How to Restore Your iPhone from a Backup
From iCloud
- During iPhone setup, tap Restore from iCloud Backup
- Sign in with your Apple ID
- Choose the most recent backup
- Wait for the restore to complete (keep connected to Wi-Fi)
From Computer
- Connect your iPhone to your Mac or PC
- Open Finder (Mac) or Apple Devices/iTunes (Windows)
- Select your iPhone and click Restore Backup
- Choose the backup you want to restore from
- Enter your encryption password if prompted
Common Backup Problems and Fixes
“iCloud Backup Failed” Error
This usually means you’re out of iCloud storage. Either upgrade your plan or delete old backups from devices you no longer own. Go to Settings > [Your Name] > iCloud > Manage Account Storage > Backups and delete outdated ones.
Backup Taking Forever
Large backups take time, especially over Wi-Fi. Make sure you’re on a fast, stable connection. If backing up to a computer, use a cable instead of Wi-Fi sync for faster speeds.
Not Enough Space on Computer
iPhone backups can be 30-100+ GB. Check your available disk space and free some up if needed. On Mac, check storage in Apple Menu > System Settings > General > Storage.
Final Thoughts
Backing up your iPhone isn’t optional — it’s basic digital hygiene. Whether you go with iCloud, your computer, or both, the important thing is that you actually do it. Set it up once, let it run automatically, and you’ll never have to experience that sinking feeling of losing everything on your phone.
Take five minutes right now to check your backup status. Future you will be grateful.